
OSRS Inferno Guide: First Cape Waves, Gear & Boosts
25 October 2026 · 14 min readThe waves that end first Inferno runs, the gear floors worth crossing, and when a practiced boost is the honest call — an OSRS Infernal cape guide.
Game screenshots and facts are cited from the Old School RuneScape Wiki (strategy, equipment, drops, and related pages). Writing is original editorial, not a copy of the wiki article.

Contents
- Who This Is For: Realistic Requirements
- The Waves That End Runs
- Gear Floors: What Actually Gets You There
- Prayer Flicking and Damage Control
- Time, Supplies, and the Real Cost
- When a Practiced Boost Is the Honest Call
- Common Mistakes That End Runs Early
- Practical Next Step: From First Attempt to First Cape
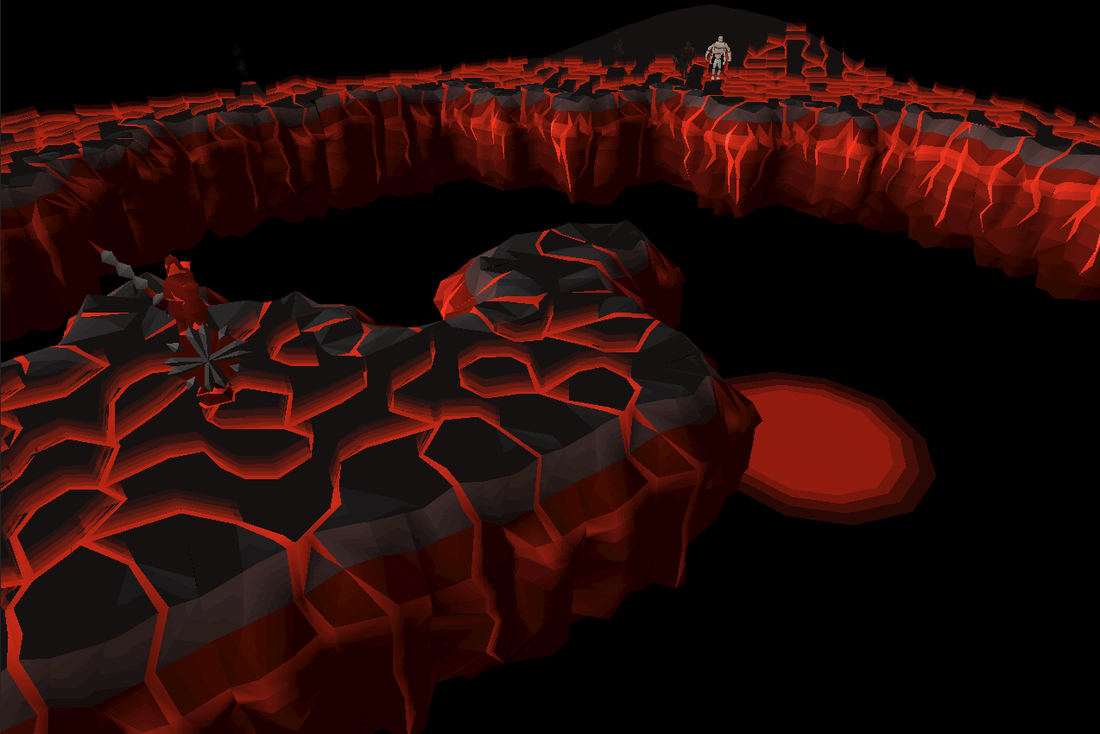
The Inferno is Old School RuneScape's longest solo gauntlet: 69 waves, three sacrificial pillars, and a level 1,400 TzKal-Zuk waiting at the end. For many high-end PvMers, the first infernal cape is less about raw stats and more about learning which waves actually end runs, what gear floor is worth crossing, and whether practice alone will get them there.

Below we break down the waves that kill most first attempts, the gear rungs that matter, and the honest case for a practiced boost when time is the real constraint. This guide pulls from the official OSRS wiki strategy pages, wave data, and reward tables so you can plan your first clear without guesswork.

Who This Is For: Realistic Requirements
You do not need max gear, but you need maxed or near-maxed combat stats, prayer unlocks, and the patience to fail dozens of times. The wiki's strategy page recommends 90+ Ranged, 90+ Defence, 80+ Magic, and 94+ Magic for Ice Barrage. Rigour and Augury are strongly recommended because they dramatically improve damage and prayer efficiency.
Minimum entry checklist
- Access: sacrifice a fire cape to TzHaar-Ket-Keh once. This is a one-time fee; after that you can attempt as often as you like.
- Stats: 90+ Ranged, 90+ Defence, 94+ Magic for Ice Barrage, 90+ Hitpoints. Lower stats can work but expect more failures.
- Prayers: Rigour and Augury unlocked. Without them, you lose a large chunk of DPS and defence.
- Weapons: Twisted bow, Bow of faerdhinen, or a high-tier crossbow. A toxic blowpipe for healing and nibblers is near-mandatory.
- Mage switch: a staff capable of autocasting ancients, plus runes for Ice Barrage and Blood Barrage.
- Mental stack: ability to track multiple attack styles, nibbler priorities, and pillar health under pressure.
This is a solo minigame. You cannot bring friends, restock between waves, or use purple sweets. You can pause by attempting to log out between waves, but the run is lost if you die. If you have killed TzKal-Zuk before, you may be assigned TzHaar Slayer tasks, which affect all monsters inside.
The Waves That End Runs
Most first attempts do not fail at Zuk. They fail in the late 40s and 50s, when mages, rangers, and blobs overlap, or at the triple Jads. Understanding the wave progression lets you anticipate threats instead of reacting.
Waves 1–17 introduce Jal-Nib (nibblers), Jal-MejRah (bats), and Jal-ImKot (melee). Waves 18–34 add Jal-Xil (rangers). Waves 35–49 add Jal-Zek (mages) and are where prayer switching becomes non-negotiable. Waves 50–66 combine all monster types, often with a mage and ranger attacking on different ticks while a blob harasses your prayer. If a pillar falls early, you lose a critical safespot for the rest of the run.

Wave 69 trap: When TzKal-Zuk drops to 480 hitpoints or less, a lone JalTok-Jad spawns and initially targets the Ancestral Glyph, not the player. If you ignore it, you risk losing the glyph; if you attack it, it turns on you and must be prayer-flicked while also managing Zuk's attacks.
The triple Jad wave (68) is a mental barrier. The first Jad engages normally; the other two have a slight delay so all three can be flicked together. Each has a slightly slower attack speed and summons only three Yt-HurKot at half health. Mastering the timing here is more important than gear.
Gear Floors: What Actually Gets You There
There is no single required setup, but there is a practical floor below which every wave becomes a gamble. The wiki is blunt: a twisted bow is the most influential gear investment for the Inferno. However, expensive armour pieces like Masori or Virtus only perform modestly better than crystal or Ahrim's. Skill matters more.
| Slot | High-end | Mid-range | Budget floor |
|---|---|---|---|
| Main ranged weapon | Twisted bow | Bow of faerdhinen | Dragon crossbow / armadyl crossbow |
| Ranged armour | Masori body/chaps (f) | Crystal body/legs | Blessed dragonhide |
| Mage switch | Kodai wand / Nightmare staff | Blood ancient sceptre | Ancient sceptre |
| Helm | Justiciar faceguard | Crystal helm | Verac's helm |
| Back | Dizana's quiver | Ava's assembler | Ranging cape(t) |
Notice the pattern: the weapon and quiver matter most; armour upgrades are often marginal. If you cannot afford a twisted bow, a Bow of faerdhinen is the next best option and performs well on Zuk and mages. Crystal armour is preferred over Armadyl or dragonhide because of its higher ranged defence and prayer bonus, even without the bow.
Gear tip: Some players drop one or both mage armour pieces because nibblers have low Magic defence, and wearing mage armour in later waves increases the damage you take from rangers. Adjust based on your early deaths.

Prayer Flicking and Damage Control
All monster attacks except Zuk's can be fully blocked with protection prayers. In waves with multiple styles, you must alternate protection prayers or choose the most dangerous attacker. The wiki recommends using the pillars to trap melee monsters and separate mages/rangers so you only face one at a time.
Blood Barrage is your renewable healing source. Once a wave is under control and incoming damage is predictable, you can heal off monsters instead of sipping brews. However, Blood Barrage does not heal quickly, so it cannot save you from a bad pull.
Nibbler priority: Three nibblers spawn every wave until wave 67; six spawn on waves 3, 8, 17, and 34 as a warning that a new monster type is coming. Kill them quickly with Ice Barrage, but do not risk your life over a pillar in waves 50+.
Triple Jads require precise timing. The first Jad attacks on its normal 8-tick cycle; the second and third are delayed by a few ticks so that all three can be flicked with one prayer rotation. If you miss a prayer, the attack can kill you in one hit if your health is not boosted with Saradomin brew or anglerfish.
Time, Supplies, and the Real Cost
The Inferno does not have a fixed death fee like some Awakened bosses, but it is expensive in time and supplies. A single attempt can last 60–120 minutes, and most players need multiple attempts. Saradomin brews, super restores, bastion potions, and stamina potions are consumed every run. The exact cost varies with the Grand Exchange, so check current prices before stocking up.
The research pack does not list an official death cost because Inferno deaths are not dangerous in the traditional sense — your gear is generally not lost. However, every death forces you to restart from wave 1, meaning the real currency is time. Players who can consistently reach wave 67 but die to triple Jads may spend more time on wave 68 than the entire first 66 waves combined.
If your schedule is tight, the opportunity cost of dozens of failed attempts can exceed the price of a practiced service. That does not mean everyone should buy a cape; it means you should be honest about how many hours you can commit.
When a Practiced Boost Is the Honest Call
Learning the Inferno legitimately is rewarding, but it is not for everyone. High-level PvM requires not just mechanical skill but the ability to diagnose your own mistakes under pressure. If you have attempted the Inferno 20+ times and still die before wave 60, a practiced boost may be the fastest way to obtain the cape while you continue learning in parallel.
Marketplace services vary. Some offer a full completion, others provide coaching or a wave-specific run. A reputable marketplace will quote a price, explain the risks, and never claim to be affiliated with Jagex. As with any account sharing, you are trusting someone with your credentials, so only use services with strong buyer protections.
Risk warning: Jagex does not partner with third-party marketplaces. Understand the rules around account sharing before proceeding. If you do choose a boost, treat it as a transaction, not a friendship, and change your password immediately after.
For players weighing the time-vs-cost tradeoff, our Project Rebalance combat guide covers how modern gear floors affect mains and pures, and why boosting quotes change. If you want a ballpark, get a service quote with your stats and gear.
Common Mistakes That End Runs Early
Most first cape failures come from a short list of repeated errors. Fix these before adding more gear.
- Ignoring nibblers until pillars fall. Without pillars, you lose safe spots and late waves become impossible.
- Wearing too much mage armour. Nibblers die to Ice Barrage even with negative magic attack from ranged armour; that ranged armour keeps you alive against rangers.
- Over-brewing early. Using all brews before wave 50 leaves no healing for the triple Jad and Zuk phases.
- Not using Blood Barrage. Healing from monsters saves brews and extends your run.
- Panic during triple Jads. The delayed attacks are designed to be flicked together; if you flick too early or too late, you die.
- Ignoring the wave 69 Jad. That Jad can destroy the Ancestral Glyph if left alone, causing a Zuk reset or death.
- Underestimating melee safespots. Jal-ImKot can dig and reappear next to you if not trapped correctly.
- Not taking a stamina potion. Running between pillars drains energy; a low run energy can cause missed prayers.
Practical Next Step: From First Attempt to First Cape
Do not walk into the Inferno blind. Follow this sequence:
- Gear check: Ensure you have at least a Bow of faerdhinen, crystal armour, blowpipe, and ancients runes. If you can afford a twisted bow, take it.
- Learn waves 1–34 cold. These waves are simple; if you die here, fix your fundamentals before attempting the harder waves.
- Practice prayer flicking at TzHaar Fight Caves. Fight Caves is a lower-stakes place to drill the Jad prayer switch.
- Record your run. Watch where you take damage and what killed you; most players cannot diagnose in real time.
- Decide time vs. money. If after 15–20 attempts you are still stuck before wave 60, consider a coaching session or a practiced boost. There is no shame in respecting your own time.
Once you have the cape, it becomes the best melee cape in the game, offering +4 melee attack and +8 strength bonus overall. It is also required for several Combat Achievements and can be traded in for a 1/100 chance at the Jal-Nib-Rek pet.

Sources
How long does it take to get your first Infernal cape?
Most players need 10-30 hours of focused attempts. The learning curve is steep: early waves become routine, but triple Jads and Zuk require dozens of repetitions. Time varies with gear and prior PvM experience. Some players clear in under a week; others take a month. There is no official average, but the wiki suggests expecting many failures.
What is the minimum gear for Inferno?
A Bow of faerdhinen with crystal armour is the practical floor. A twisted bow is best but not mandatory. You also need a toxic blowpipe, a staff for ancients, and runes for Ice/Blood Barrage. Ranged armour with good defence and prayer bonus matters more than raw DPS. Check the strategy page for budget setups.
Can you leave the Inferno and come back?
You can pause the minigame by attempting to log out between waves. The run resumes where you left off. You cannot restock or bank between waves. If you die, you must restart from wave 1. There is no checkpoint system, so a single logout is safe but death is not.
What happens if you die in the Inferno?
You restart from wave 1. Gear is generally not lost, but supplies used during the attempt are gone. The minigame is solo, so no one can retrieve your items. Always verify current death mechanics on the official wiki, but the primary loss is time.
What is the hardest wave in the Inferno?
Many players find wave 68, the triple Jads, the hardest mental barrier. Wave 69 also adds a Jad while fighting Zuk. Late waves in the 50s and 60s with mage+range+blob combos end more runs than Zuk itself. Which wave is hardest depends on your prayer flicking and pillar management.
Should I use a boosting service for Inferno?
It is an honest option if time is limited or you are stuck. Services exist to complete the cape for you, but you must trust the provider with your account. Jagex does not endorse them, and account sharing carries risk. Only use reputable marketplaces with buyer protections and change your password immediately.
What are the rewards from Inferno besides the cape?
You receive tokkul based on wave reached, up to 16,440, with a 1/100 chance at the Jal-Nib-Rek pet. The cape itself is the best melee cape and required for several Combat Achievements. You can exchange extra capes for another pet roll. Completion also unlocks Inferno Slayer tasks for TzHaar assignments.


