OSRS Zulrah Guide for Returning Players: Rotations, Gear Rungs, and Honest Kill Times
19 October 2026 · 13 min readZulrah is still a consistent solo money boss, but the modern meta rewards gear over rotation memorisation. Learn the mechanics that actually kill you, gear rungs that matter, trip length planning, KC milestones, and when a Zulrah carry is worth it.
Game screenshots and facts are cited from the Old School RuneScape Wiki (strategy, equipment, drops, and related pages). Writing is original editorial, not a copy of the wiki article.

Contents
- Requirements and Who This Is For
- Why Zulrah Is Still Worth Learning in the Modern Meta
- Core Fight Mechanics That Actually Kill You
- Gear Rungs That Actually Matter
- Setup, Inventory, and Trip Length
- Common Mistakes Returning Players Make
- Rotations: You Don't Need to Memorise All Four on Day One
- KC Goals and Progression Milestones
- When a Zulrah Carry or Service Quote Makes Sense
Zulrah was once the default solo money boss, and a lot of returning players left before the modern meta settled. The snake is still profitable, still solo-only, and still gated behind Regicide, but the gear that gets you consistent kills has changed more than the rotations themselves. This guide covers the fight mechanics that actually kill people, a practical gear ladder, trip length planning, KC milestones, and when buying a Zulrah carry is a sane shortcut instead of a grind blocker.

If you're coming back after a break, don't try to re-learn every rotation on day one. Start with the two Crimson rotations, use a helper or chart, and focus on keeping your switches small. Below is everything you need to stop dying at Zulrah and start treating it like a repeatable money task.

Requirements and Who This Is For
Zulrah is not an entry-level boss. The quest gate is Regicide up to reaching Port Tyras, plus speaking to High Priestess Zul-Harcinqa to become the sacrifice. If you haven't done the quest line, stop here and finish it first. You also need to kill Zulrah once for the hard Western Provinces Achievement Diary, which unlocks elite Void upgrades later.
- Completion of Regicide (access to Zul-Andra)
- At least 75 Ranged for toxic blowpipe or 80+ for consistency
- At least 75 Magic if using a trident; 82+ recommended for max hits
- 70+ Defence and 45 Prayer for protection prayers (Eagle Eye, Mystic Might)
- Recommended: 76 Agility for the BJS fairy ring shortcut, or Zul-andra teleport scrolls
- Recommended: 82 Construction for an ornate rejuvenation pool if banking with house tabs
Returning players with base 80s combat, a trident of the seas, and black d'hide can get kills, but expect deaths while learning. This guide is aimed at players who already have some PvM muscle memory but haven't internalised Zulrah's patterns.
Why Zulrah Is Still Worth Learning in the Modern Meta
Zulrah's average kill value sits around 129,320 coins before unique drops, and the two rolls per kill mean you will see a unique roughly every 128 kills. The uniques are not just lottery tickets: the magic fang upgrades a trident of the seas into a trident of the swamp, and the tanzanite fang becomes a toxic blowpipe, which is still the best all-round ranged weapon for mid-level content. Scales are always in demand, and even a slow 15-kill-per-hour learner can push 2M+ per hour after accounting for supplies.
Beyond the headline uniques, the 100% drop is Zulrah's scales, which are used to charge blowpipes and serpentine helms. The shark drop table and rare drop table add occasional stackable resources. Mutagens are extremely rare (about 1/3,277 for either per kill) and purely cosmetic; don't chase them. The uncut onyx is also on the unique table and worth a decent chunk, but it's not exclusive to Zulrah.
The modern meta didn't make Zulrah obsolete; it made the fight faster and more dependent on gear than on perfect rotation memorisation. A twisted bow or Harmonised Nightmare staff will shred Zulrah, but a well-geared mid-level setup using blowpipe and trident of the swamp is still very profitable. The boss is also solo-only, so there's no group friction, and its loot is stable because scales are consumed by blowpipe and serp helm users everywhere.
One thing to verify before you commit: current unique prices and scale prices move, and the exact profit per kill can shift by tens of thousands of coins. Check the money making guide for an updated hourly estimate, but don't treat the displayed rate as guaranteed. It assumes 20 kills per hour with good gear; learners will start below that.

Core Fight Mechanics That Actually Kill You
Zulrah has three forms: Serpentine (green), Tanzanite (blue), and Magma (red). The green form is notably weak to fire spells; the blue form has high Magic defence and should be attacked with Ranged; the red form can be hit with either style, but most players keep the same weapon from the previous phase to reduce switches. Zulrah also alternates between Magic and Ranged attacks, and failing to swap protection prayers is the most common cause of early deaths.
Two mechanics do more damage than Zulrah's actual hits: snakelings and venom clouds. Snakelings are level 90 monsters with 1 Hitpoint but extremely accurate attacks that can hit 15. They spawn from white orbs, and while you can prayer-flick them, it's usually better to tank their hits and focus on Zulrah's bigger damage. A ring of suffering (or plain ring of recoil) will automatically kill snakelings that attack you; without it, you'll eat much more food.
Venom clouds are 3x3 areas that deal rapid damage per tick. They appear from dark-green orbs, and some rotations force you to run through them to reposition. Running through a cloud is almost always better than standing in one, but you should learn the safe tiles for each phase. Beginners often die because they try to avoid every cloud and end up standing in the wrong place against Zulrah's next attack.
| Form | Appearance | Recommended attack style | Key danger |
|---|---|---|---|
| Serpentine (green) | Green serpent | Magic, preferably fire spells | Drops venom clouds early |
| Tanzanite (blue) | Blue serpent | Ranged (blowpipe or crossbow) | High Magic defence shreds trident accuracy |
| Magma (red) | Red serpent | Either style, keep previous weapon | Alternates attack styles rapidly |

Gear Rungs That Actually Matter
You don't need max gear to kill Zulrah, but the right mid-tier setup cuts deaths more than any rotation memorisation. The biggest upgrades in order of impact are: a toxic blowpipe (if you have 75 Ranged and the fang), a trident of the swamp (magic fang upgrade), a ring of suffering (for recoil and defence), and a serpentine helm if you hate managing venom. After that, the marginal gains from Ancestral or Masori are nice but not necessary for consistent kills.

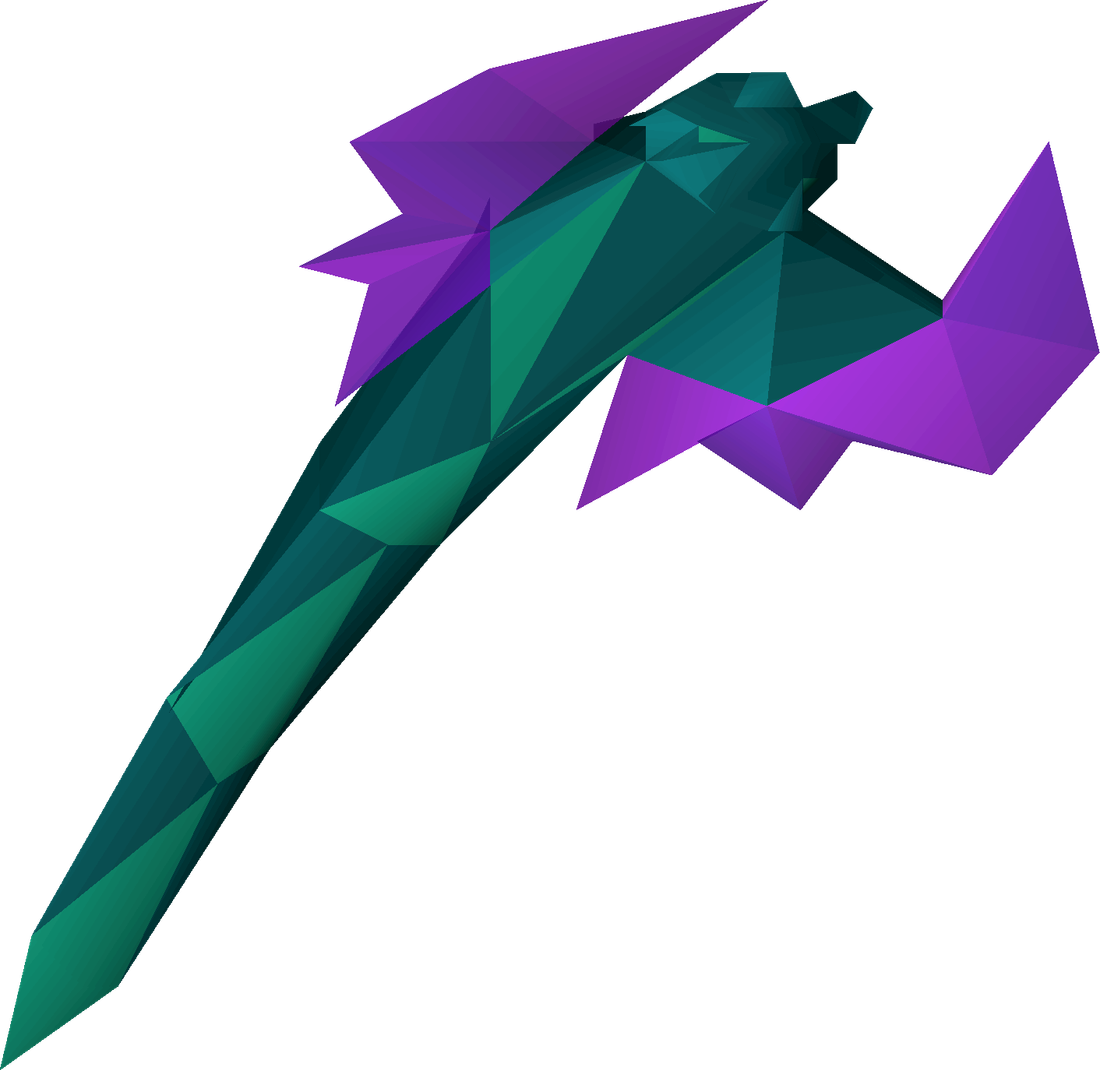
The blowpipe's attack speed and venom chance make it the default ranged option, but it has a real cost: you use up to 2,000 Zulrah's scales per hour plus darts. Using dragon darts with an Ava's assembler, total supply cost (scales + darts) is around 940k per hour; adamant darts bring it down to about 335k per hour. If you're tight on cash, use adamant darts and an Ava's device to recover most of them. The blowpipe also has a special attack, Toxic Siphon, that heals you for half the damage dealt; use it when you need a free heal on a safe phase.
For Magic, any powered staff works, but the trident of the swamp is the sweet spot for its accuracy and speed. If you have fire spells and a Tome of Fire, you can exploit Zulrah's 50% elemental weakness to fire, which makes the Smoke battlestaff or even a fire-wave setup competitive at lower budgets. The Harmonised Nightmare staff and Tumeken's shadow are luxury upgrades that significantly speed up kills but are not required to learn.
| Rung | Magic setup | Ranged setup | Helmet | Notes |
|---|---|---|---|---|
| Budget learner | Trident of the seas, Mystic robes, God cape, Occult necklace | Rune crossbow with broad bolts, black d'hide, Ava's accumulator | Serpentine helm or slayer helm (if on task) | Expect 2-3 kills per trip, 15-18 kills/hr with practice |
| Mid game | Trident of the swamp, Ahrim's robes, Tormented bracelet, Imbued god cape | Toxic blowpipe with adamant darts, blessed d'hide, Anguish, Ava's assembler | Serpentine helm | Comfortable 20 kills/hr, 4-6 kill trips with pool |
| High end | Tumeken's shadow or Harmonised Nightmare staff, Ancestral/Virtus, Tome of Fire if fire spells | Twisted bow with Masori/Armadyl, dragon arrows | Slayer helm (i) or Ancestral hat | 24-30+ kills/hr, trips limited by inventory space |
All gear recommendations assume you can handle 4-6 way switches. If not, drop the necklace and boot switches first. A simpler setup with fewer switches will result in fewer mistakes and often faster kills than a max switch setup you can't pilot cleanly.
Setup, Inventory, and Trip Length
Trip length at Zulrah is mostly a function of three things: how fast you can bank, how many supplies you bring, and whether you have an ornate rejuvenation pool to reset stats between kills. The fastest return teleports are Zul-andra teleport scrolls (about 20 seconds faster than fairy ring), but they cost money. The fairy ring BJS is free if you have 76 Agility for the stepping stone; without it, you'll run through the Poison Waste and lose time.
A typical learner inventory: 2-3 prayer potions, 1 anti-venom+ (unless using serp helm), 8-10 sharks or manta rays, a ring of dueling for bank tele or house tabs if you have a pool, and your gear switches. As you get comfortable, you can drop food for more switches or extra scales/darts. Many experienced players bank every 2-4 kills because loot fills inventory and they want to reset; with a maxed house and teleport scrolls, the banking latency is under 30 seconds.
If you don't have fairy ring access or teleport scrolls, a charter ship to Tyras Camp costs 3,200 coins (1,600 with Cabin Fever/Ring of Charos) and adds a longer run. This is only worth it for the first diary kill, not for grinding.
For the fight itself, keep your health above 40 because a snakeling + Zulrah hit can stack 30 damage. Eat between phases, not during them, and use the blowpipe special attack as a free heal when Zulrah is in a safe phase. The ring of suffering (or recoil) is non-negotiable for learners; it passively kills snakelings and saves food.
Common Mistakes Returning Players Make
- Over-switching: Bringing 8-way switches before you can click them leads to standing in clouds while fumbling gear. Start with 3-4 switches.
- Standing in venom clouds to save food: Cloud damage is far worse than any single hit; move immediately.
- Ignoring snakelings: They may have 1 HP, but three of them plus Zulrah will kill you through prayer.
- Using Magic on tanzanite phase: The blue form's high Magic defence makes your trident splash constantly; switch to blowpipe or crossbow.
- Not using recoil/ring of suffering: Without recoil, snakelings live long enough to deal significant damage.
- Panicking during prayer swaps: Zulrah's attacks are telegraphed by animation and sound; don't guess. Watch the head movement and swap accordingly.
A lot of deaths could be avoided by simply bringing an extra recoil ring or anti-venom+ instead of that third prayer potion. After you die, note what killed you: if it was a snakeling, you need recoil; if it was a cloud, you need better tile memory; if it was a prayer mistake, slow down and watch the rotations.
Rotations: You Don't Need to Memorise All Four on Day One
Zulrah has four main rotations: Crimson A, Crimson B, Serpentine, and Tanzanite. Each rotation has a set order of forms, snakeling spawns, and venom cloud placements. Trying to memorise all four before your first kill is the classic returning-player trap.
Instead, focus on the two Crimson rotations first. They share a predictable early pattern and are the most common. Use a rotation chart on a second monitor or an approved client plugin that highlights the current rotation. After 20-30 kills, you'll start to recognise the first spawn and instinctively know where to stand. Once you can complete Crimson A/B without thinking, add the other two rotations one at a time.
If you absolutely hate rotation learning, consider a Twisted Bow setup. With high Ranged accuracy and damage, you can often ignore some positioning nuance because kills are so fast that you skip dangerous phases. But that's a multi-hundred-million investment, not a starter option.
KC Goals and Progression Milestones
- 1 KC: Complete the hard Western Provinces diary. This is a common reason to buy a carry, and it's a legitimate use if you're stuck.
- 25-50 KC: You can now get kills without dying every other attempt. Expect 12-15 kills/hour with mid gear.
- 100 KC: You've likely seen at least one unique and can maintain 18-20 kills/hour. This is when Zulrah becomes consistent money.
- 500+ KC: You've mastered rotations and can push 24+ kills/hour with high-end gear. The boss is now a grind, not a challenge.
After your first kill, use the money from scales to upgrade in this order: magic fang for trident of the swamp, then toxic blowpipe if you don't have one, then a ring of suffering, then better robes/d'hide. Avoid buying cosmetics or side-grades until your kill times are comfortably under 2:30.
When a Zulrah Carry or Service Quote Makes Sense
Zulrah is a solo-only boss, so a traditional carry (where another player kills it for you) is not possible on a main account. What services can offer is a coached attempt, a rotation walkthrough, or an account pilot if you trust the provider with your login — but that last option comes with significant account security risks and may break Jagex's rules. The honest middle ground is a learner session where an experienced player watches your screen and tells you where to stand and when to switch prayer. That can compress 10 hours of trial-and-error into one or two sessions.
If you only need the diary kill and you're not enjoying the learning curve, a quote for a first-kill service is reasonable. But if your goal is to make money long-term, invest the gold in gear instead: a magic fang plus blowpipe will do more for you than any carry. For an alternative consistent money boss with a simpler rotation, check out our Vorkath guide.
If you want help with Zulrah gear, rotations, or getting your first diary kill, see what a service would cost. No pressure — sometimes the best upgrade is just a second set of eyes.
Remember: all prices, drop rates, and trip lengths shift with the economy. Double-check the Zulrah wiki page and the strategy page before buying gear or committing to a method.
Sources
What are the requirements to fight Zulrah?
You need Regicide completed up to Port Tyras and to speak with High Priestess Zul-Harcinqa. Recommended stats include 75+ Ranged, 75+ Magic, 70+ Defence, and 45+ Prayer. 76 Agility for the fairy ring shortcut or Zul-andra teleport scrolls are strongly recommended for efficient kills.
Is Zulrah still worth killing for money in 2025?
Yes. Zulrah's average kill value is around 129,320 coins, and uniques drop roughly every 128 kills. Scales are always in demand, and a mid-level player can sustain 2M+ per hour after supplies. High-end setups push 4M+ per hour, though prices fluctuate.
What gear do I need for Zulrah as a returning player?
Start with a trident of the seas, mystic robes, black d'hide, and a rune crossbow or blowpipe. As you profit, upgrade to trident of the swamp, toxic blowpipe, ring of suffering, and serp helm. The biggest single upgrade is the trident of the swamp for magic accuracy.
How do Zulrah rotations work, and do I need to memorize all of them?
Zulrah has four rotations: Crimson A, Crimson B, Serpentine, and Tanzanite. Each dictates form order, snakeling spawns, and venom cloud placement. You don't need all four initially. Learn the two Crimson rotations first, then add the others as you gain kills.
What is the best way to deal with Zulrah's snakelings and venom clouds?
Snakelings have 1 HP but very accurate attacks. Use a ring of suffering or ring of recoil to kill them passively, and tank their hits rather than prayer-flicking multiple targets. Venom clouds deal rapid damage per tick; move out of them immediately, even if you must run through another cloud.
How many kills per hour can I expect with mid-level gear?
With a trident of the swamp, toxic blowpipe, and a few switches, expect 15-20 kills per hour once you're comfortable. Beginners start around 10-12, while maxed players with twisted bow or Harmonised staff can reach 24-30+ kills per hour.
Should I buy a Zulrah carry for the elite void diary?
If you only need the one kill for the Western Provinces hard diary and you're not enjoying the learning curve, a first-kill service is a reasonable shortcut. Just ensure the provider follows account security best practices. For long-term money, invest in gear and keep practicing instead.